How to Do a Gas Line Pressure Test: Steps, Precautions & Safety
Recent Posts
- Main Water Line Leak: Symptoms, Detection & Repair Guide
- Repairs for Water Leaks With Pressure: 6 Fast & Reliable Fixes
- How to Fix a Loose Faucet Handle in 3 Easy Steps (DIY Guide)
- Kitchen Sink Leaking Underneath? Here’s How to Fix It Fast
- Understanding Texas Water Quality and Hardness Levels By Cities and Zip Code
Dinomite Services
Gas line pressure testing is a crucial safety measure for homeowners and contractors. It ensures the integrity of your gas system, preventing leaks that could lead to severe hazards like explosions or poisoning. Whether checking a new installation or troubleshooting an existing one, a proper gas line pressure test is vital to maintaining safety. This guide will walk you through the steps, requirements, and precautions necessary for a thorough test. Let’s get started
What is Gas Line Pressure Testing?
Gas line pressure testing involves applying air or inert gas to your gas lines to verify their integrity and ensure they can handle their intended operating pressure.
- Low-Pressure Testing: Common for appliances like stoves or water heaters. Pressure must remain stable for at least 30 minutes.
- High-Pressure Testing: Necessary for larger systems or specific gas-powered appliances. Typically, it requires maintaining pressure for an hour.
Both tests identify leaks, weak points, or other structural issues in the system.

How Gas Line Pressure Testing Works: Step-by-Step Instructions
Performing a gas line pressure test involves several precise steps. Here’s a breakdown:
- Turn Off the Gas Supply: Ensure the gas supply is completely shut off to avoid accidents.
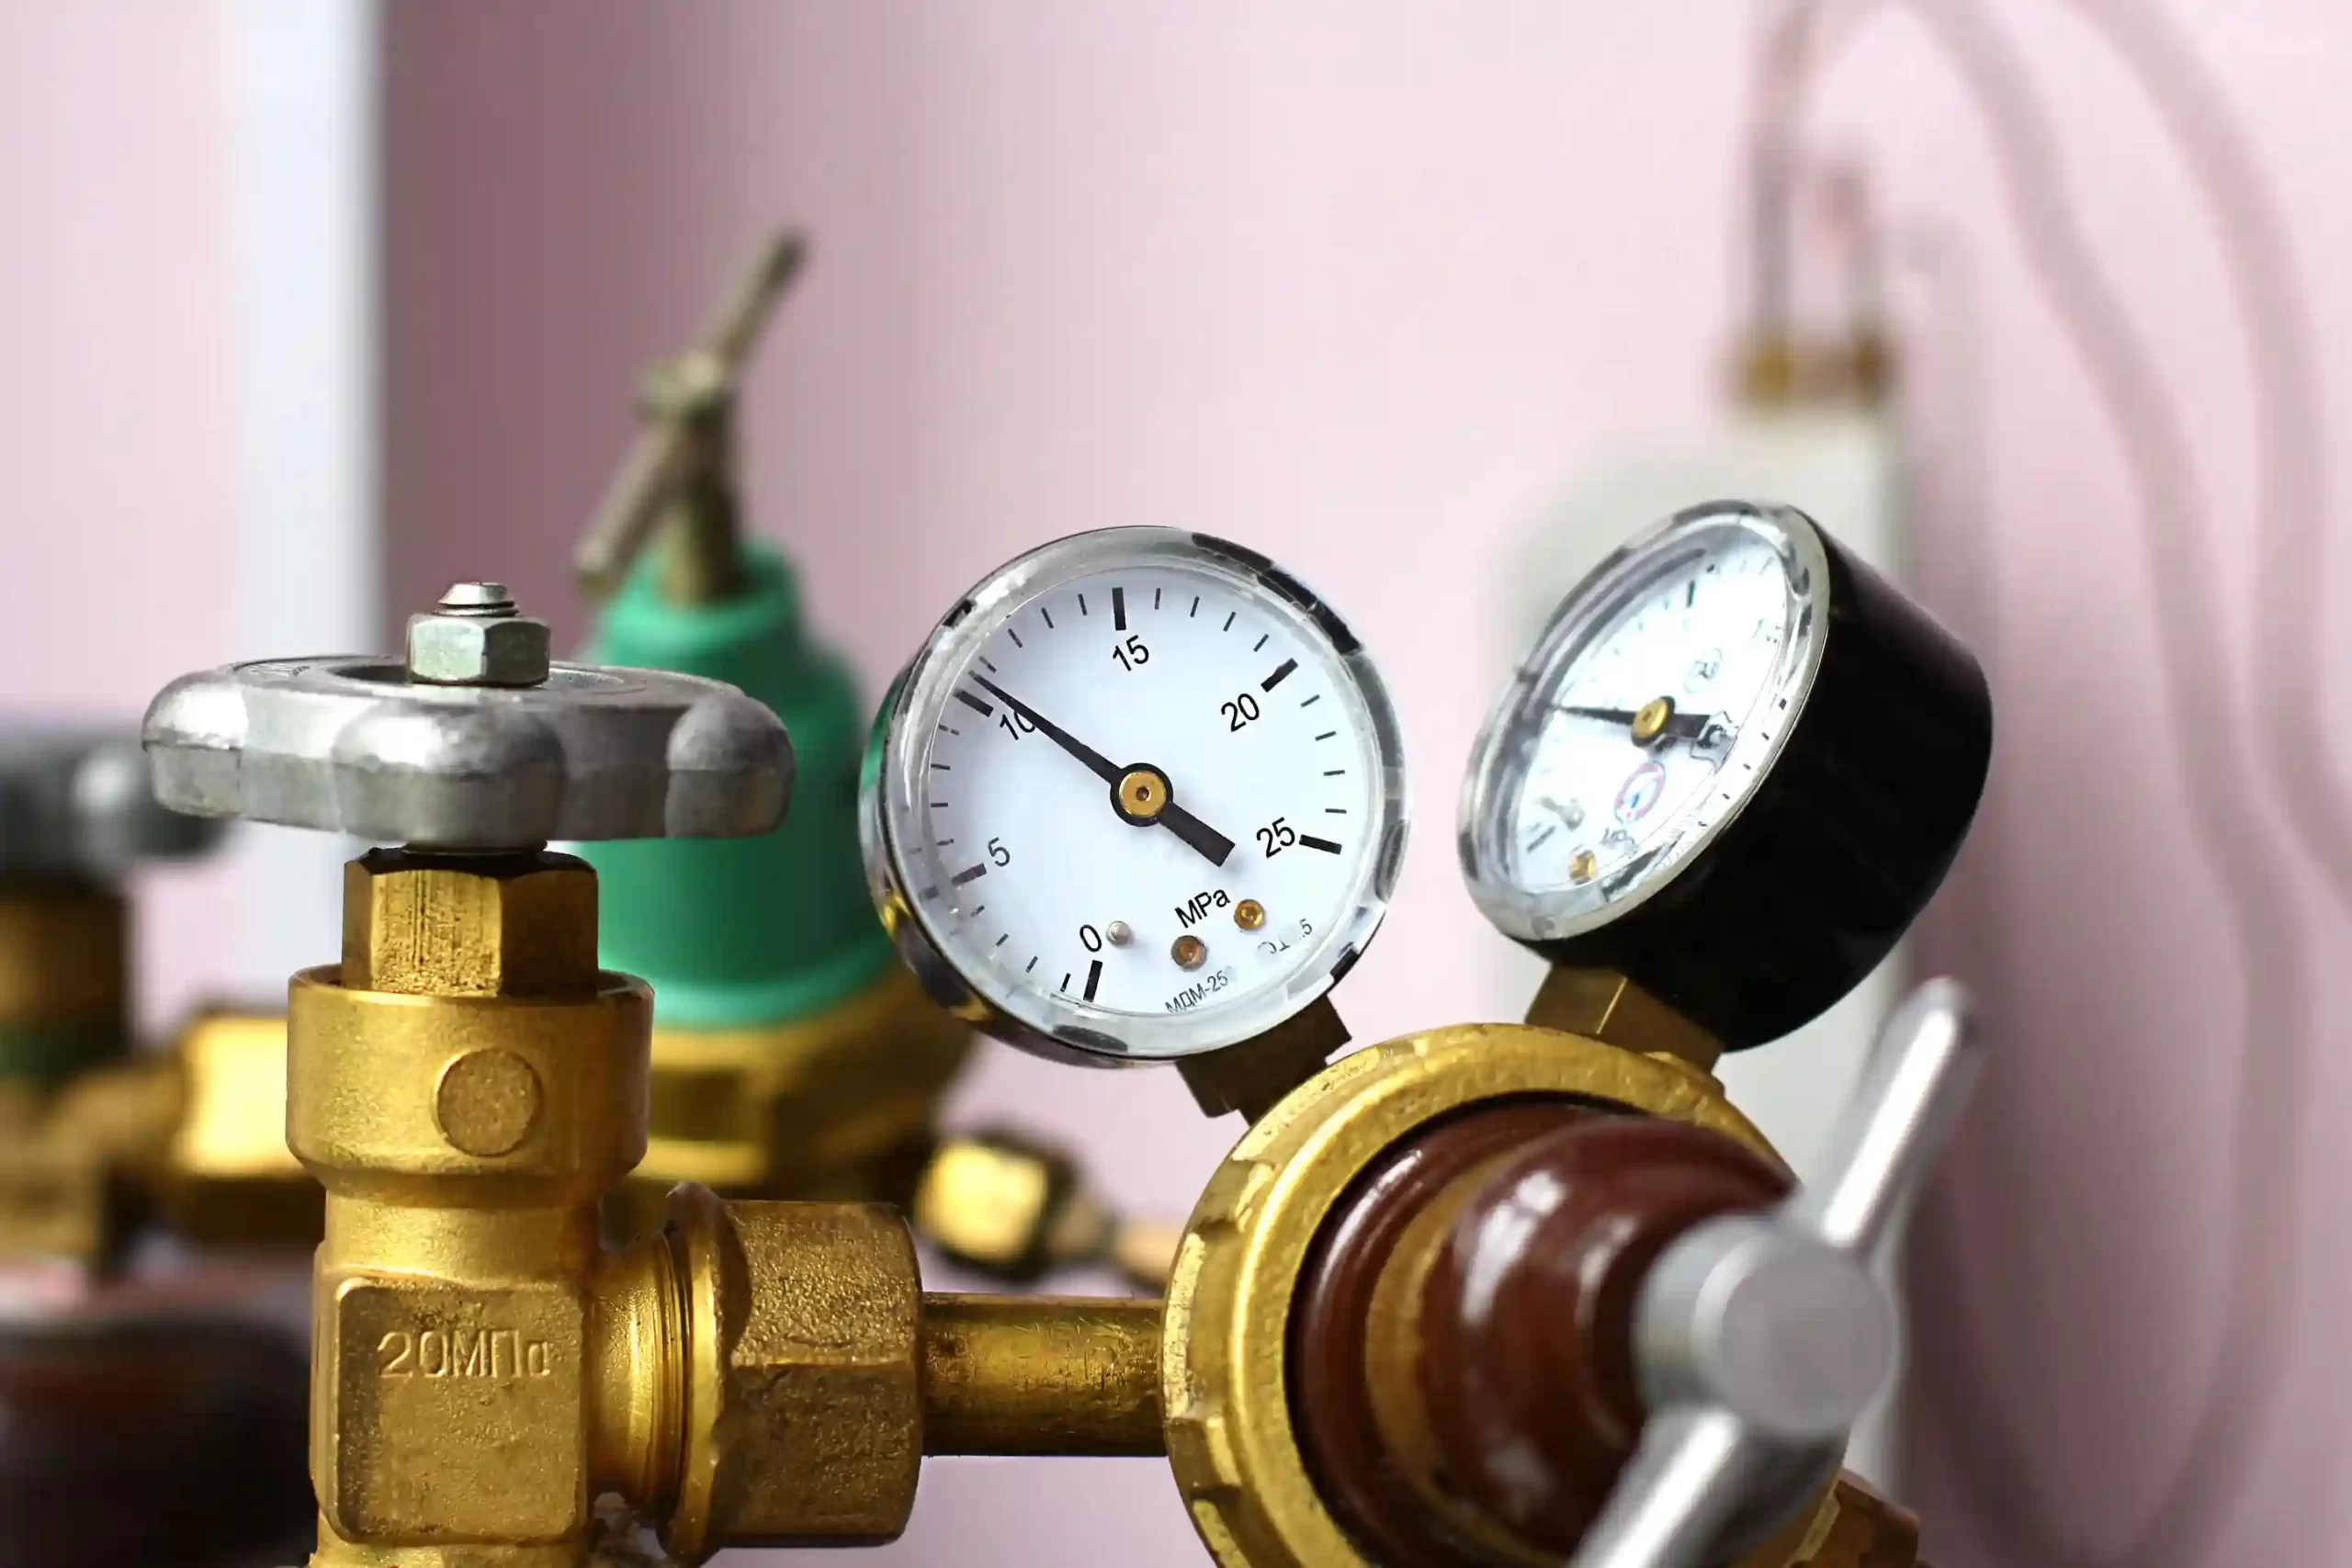
- Install a Pressure Gauge: Attach a pressure gauge to the test point, ensuring a tight connection.
- Pressurize the System: Use a manual pump or compressor to pressurize the line to the required level (see PSI requirements below).
- Monitor Pressure: Allow the system to sit under pressure for the designated period (30 minutes to 1 hour).
- Inspect for Leaks: If the pressure drops, inspect the line with soapy water to identify leaks. Bubbles indicate escaping gas or air.
- Document Results: Record findings and confirm that the system meets safety standards.
Common Reasons for Gas Line Pressure Testing
Gas line pressure tests are conducted for several reasons:
- New Installations: Ensures the newly installed system is leak-free and compliant with regulations.
- Repairs or Modifications: Confirms the integrity of a system after repairs.
- Routine Maintenance: Prevents potential hazards by identifying issues early.
- Real Estate Transactions: Many jurisdictions require a gas pressure test before selling or buying a home.
What Are the Safety Precautions During Pressure Testing?
Safety should be a top priority during a gas line pressure test. Follow these precautions:
- Ventilation: Always perform tests in well-ventilated areas.
- Avoid Using Actual Gas: Use air or inert gas (like nitrogen) instead of natural gas for testing.
- Monitor Equipment: Ensure all testing tools are in good working condition.
- Follow Manufacturer Guidelines: Adhere to the specific testing requirements of appliances or systems.
- Call a Professional: Consult a licensed technician if you’re unsure about performing the test yourself.
Gas Line Pressure Testing Requirements
The testing pressure depends on the type of system. Here’s a quick reference:
- Low-Pressure Systems (Under 0.5 psi): Must maintain at least 5 psi for 30 minutes.
- Standard Residential Systems (1-5 psi): Tested to 1.5 times the operating pressure or a minimum of 5 psi for 30 minutes.
- High-Pressure Systems (Above 5 psi): Must maintain 1.5 times the operating pressure for at least an hour.
These standards ensure the system is structurally sound and leak-free.
What to Do if Gas Line Pressure Test Shows Leaks
Leaks detected during a gas line pressure test require immediate action:
- Locate the Leak: Use a soapy water solution to identify the issue’s exact location.
- Turn Off the Gas Supply: Ensure safety by cutting off the gas supply.
- Repair the Leak: Replace damaged components or tighten connections.
- Retest the System: Perform another pressure test to confirm the issue is resolved.
- Consult a Professional: If the leak persists, contact a licensed technician.
FAQs About Gas Line Pressure Testing
How many psi is a residential gas line?
Residential systems typically operate between 0.5 psi and 5 psi, depending on their size and purpose.
How often should gas line pressure testing be done?
Testing should be done during new installations, after modifications, and periodically for routine maintenance.
How long should a pressure test last?
The test duration depends on the system: 30 minutes for low-pressure and standard systems and at least 1 hour for high-pressure systems.
Can I perform a gas line pressure test myself?
While it’s possible to do it yourself, hiring a professional ensures accuracy and compliance with safety regulations.
When should I pressure test my gas line?
Pressure testing is essential after installations, repairs, or property sales.
What do I need to pressure test a gas line?
You’ll need a pressure gauge, compressor or pump, soapy water solution, and proper safety gear.
Ensure Safety with Professional Gas Line Testing
A properly conducted gas line pressure test ensures your system is safe, reliable, and compliant with safety standards. Whether you’re a homeowner or contractor, understanding the process and following the required steps is crucial. However, the stakes are high, and precision is key. That’s where we come in.
At Dinomite Services, we specialize in professional gas line pressure testing, ensuring your system is leak-free and functioning efficiently. Our experts use advanced tools and techniques to guarantee safety and compliance. Don’t take chances—contact us today to schedule your gas line pressure test!

