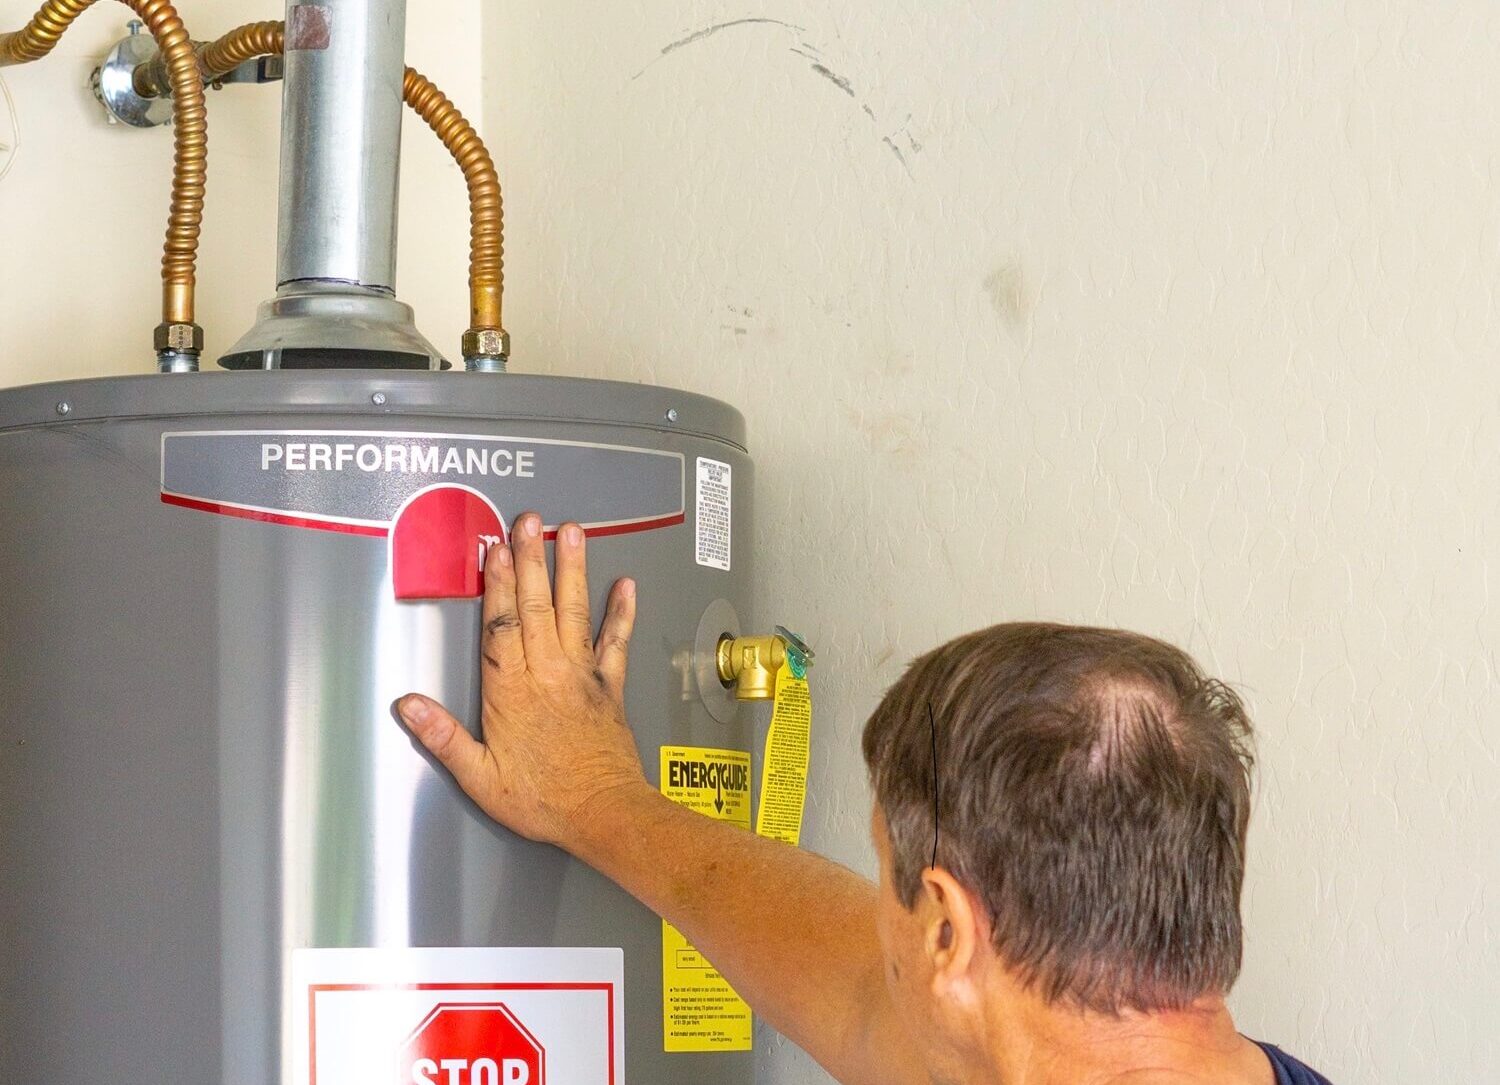
When Should You Replace Your Water Heater?
- Home
- When Should You Replace Your Water Heater?
Recent Posts
- How to Do a Gas Line Pressure Test: Steps, Precautions & Safety
- Aluminum or Magnesium Anode Rod for Water Heater: Which to Choose
- Top 5 Common Water Heater Problems in Older Homes and How to Diagnose Them
- When to Use Snaking vs. Hydro Jetting for Effective Drain Cleaning
- Understanding Water Heater Thermostats: How to Adjust for Optimal Performance
Dinomite Services
When your morning shower suddenly goes cold, it’s a startling reminder that your water heater may not last forever. Water heaters, like other appliances, have a limited lifespan. Knowing when you should replace your water heater will spare you from unpleasant cold surprises and perhaps costly damage if an outdated water heater breaks. This blog highlights the signs that indicate it’s time for a hot water system replacement, as well as provides you with a basic understanding of how to replace a water heater.
Signs It's Time to Replace Your Water Heater
Age of Your Water Heater
One of the most obvious signs that you need to replace your water heater is its age. Most water heaters last between 8 to 12 years. If yours is approaching or has passed this age, you should think about replacing it. This not only keeps you from being caught off guard by a malfunction, but it also increases the effectiveness of your home’s heating system.
Rust and Corrosion
Water heaters are prone to rust and corrosion over time, particularly if not properly maintained. If you detect rusty water pouring from your taps or visible rust on the tank, it is a clear sign that your system is degrading and may need to be replaced.
Inconsistent Water Temperature
If your water temperature changes unexpectedly, it might indicate that one or more of your water heater’s components are deteriorating. Inconsistent heating is frequently one of the first symptoms of anything being wrong.
Leaks
Any symptoms of leakage around the water heater are a major worry. Leaks can result in water damage in your house and indicate that your water heater may need to be replaced. Leaks must be addressed immediately to minimize further damage and possible safety hazards.
Increasing Energy Bills
An aging or defective water heater can become inefficient, resulting in higher energy expenses. If you see a sudden increase in prices without a clear reason, your water heater might be to blame.
How to Replace a Water Heater: A Step-by-Step Guide
While upgrading a water heater may appear intimidating, learning the fundamental processes will give clarity and prepare you for what to anticipate if you decide to take on the project yourself or hire a professional.
Step 1: Choose the Right Replacement
Choosing the right water heater is critical for maximizing energy efficiency and satisfying your household’s hot water needs. Consider the unit’s size carefully; a model that is too tiny will continually run to fulfill demand, whereas one that is too large will consume more energy than necessary.
Pay attention to energy efficiency ratings to ensure long-term savings. Additionally, the type of fuel used (electric, gas, solar, etc.) will impact both installation complexity and operational costs. Consulting with water heater professionals can help you match your specific needs with the right model, ensuring you get a water heater that suits your lifestyle and energy preferences.
Step 2: Removal of the Old Unit
To ensure safety, start the removal process by turning off the power or gas supply. Next, drain the tank by attaching a hose to the valve at the bottom of the tank and directing the water to an appropriate drain. Do this carefully to avoid spills. After draining, disconnect the electrical and water lines. Due to the tank’s weight and size, you may need help with the physical removal. This step should be done cautiously to avoid potential water damage or injury.
Step 3: Installation of the New Water Heater
Begin the installation by placing the new water heater in a location that allows for easy access for future maintenance and ensures compliance with local building codes. Connect the water heater to the existing water lines using the necessary fittings, and make sure the unit is level for proper operation.
Adequate ventilation is crucial, especially for gas-powered units, to prevent harmful gas leaks. Have a licensed professional handle the connection to the power supply, whether it’s electrical or gas, to ensure safety and compliance with local regulations.

Step 4: Final Checks and Maintenance Tips
After installation, thoroughly inspect all connection points for leaks. Follow the manufacturer’s instructions to start the unit and monitor the initial heating cycle to ensure everything is functioning correctly. Regular maintenance, such as annual checks of the anode rod and flushing the tank to remove sediment buildup, can significantly extend the lifespan of your water heater. Taking these proactive steps will enhance your water heater’s efficiency and safety over time.
Conclusion: Ensuring a Smooth Transition
Replacing your water heater is a substantial investment in your home’s comfort and efficiency. Recognizing the indicators that it’s time to replace your water heater, knowing how to replace a water heater, and selecting the correct replacement are all critical stages in ensuring you continue to have hot water without interruption.
If you’re worried about taking on this work alone or need expert advice, Dinomite Services is ready to assist. With years of experience in hot water system replacement, we guarantee a smooth and efficient operation. Trust us to deliver dependable service and competent installation, ensuring that you have hot water when you need it most.
Contact Dinomite Services immediately to schedule a water heater replacement or for additional information.

